Take time throughout your derby season to look over the first-on, last-off piece of safety equipment that usually gets overlooked.
HELMETS ARE OFTEN THE piece of equipment that skaters are most loath to replace. They may have an impressive collection of stickers or a meaningful hand-painted illustration on their helmet. A lot of identity can be tied to a skater’s helmet, as well as their literal blood, sweat, and tears, so it makes sense that one might carry their helmet through several competitive seasons.
As you make your way into your next competitive season, give your helmet a once, or twice over to look for signs of wear that might compromise its ability to offer some protection for your head and face.
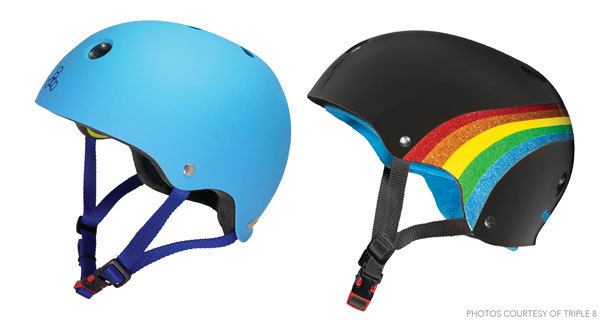
For the purposes of this article, we will be looking at the multisport helmet which is generally most accessible to derby skaters. Additional helmet styles would also benefit from a close inspection.
Inspecting your helmet
Your helmet is made up of several pieces and types of plastic, foam, nylon, and metal. The integrity and function of the whole helmet depend on how these pieces fit together. Let’s examine your helmet for damage or wear from the inside out.
Soft Foam
The soft foam pieces that directly contact your skin are meant to create a snug fit. These fit pads will eventually compress and break down due to sweat and friction under normal use. While these pads can be removed and hand-washed using mild detergent and warm water, over-washing can result in faster breakdown so find a routine that works for you. Be sure that the fit pads keep enough of their volume to secure your helmet comfortably on your head without your helmet slipping off, forward, or backward. If your teammates can compliment your sweet new bangs/fringe, then your helmet is not fitting securely, and it is time to replace these pads.
Rigid Foam
Next, take a look at the rigid foam just under the shell of your helmet. Expanded Polystyrene, (EPS foam) should be inspected for cracking or dents. If you see these you will need to replace your helmet. This rigid foam helps to disperse some of the force that the helmet sustains during impact and when the foam isn’t in good shape your helmet just becomes a hat.
Exterior
Let’s move on to the exterior of your helmet. Is the shell in good shape? Look for cracking around bolts and ventilation holes. Are there any chips around the edges? If your helmet has a visor be sure to pay special attention to the points where your visor connects to the rest of the helmet. These points can be susceptible to additional wear and tear.
Strap & buckles
Finally, take a moment to examine your chin strap and buckle. Are there any chips in your buckles? Are the “O” rings that hold your excess chin strap down still holding tight or are they brittle and over-stretched?
Now is also the time to adjust your chin strap to achieve that “Y” shape just under your ears and to give yourself a reasonable amount of space between your chin and your helmet strap, don’t wait until 4 minutes before the first jam because you are “better under pressure.”
other components
Your helmet may also have come with additional ways to adjust fit, including a fit dial at the back or additional fit pads. Take a look at these components and make sure they are not damaged, chipped or torn. And as always, use your helmet manufacturer’s instructions to achieve the best fit, which means the best protection.
helmet care tips
- All of the helmet’s components are sensitive to extreme heat (melting, warping) or extreme cold (cracking, breaking). Protect your helmet and yourself by making sure it isn’t exposed to either of these extremes.
- Avoid unnecessary wear and tear on your helmet by making sure it is protected inside your gear bag. Slamming around in a trunk or overhead bin can make your helmet vulnerable to cracks, dents, and chips.
- After any impact during drills or gameplay, be sure to check your helmet for damage. Any structural damage to your helmet means you need to replace it before your next practice
helmet fit*
- Should fit snugly and not rock back and forth.
- The front should rest above the eyebrows, two fingers above them to be exact.
- The straps can be adjusted on either side. The adjuster should rest just under your ear. You can tighten the back part or the front part to have the helmet sit properly on your head.
- The chin strap should buckle and hang one finger below your chin.
*Guidelines provided by Triple 8
Like what we do? Consider chipping in a few bucks.